On This Page
- Step 1: Setting the Foundation
- Step 2: Installing Magento
- Step 3: Configuring Your Store
- Step 4: Designing Your Store
- Step 5: Adding Products
- Step 6: Configuring Payment and Shipping
- Step 7: Launching Your Store
- Wrapping Up
Get in Touch
Did you know that Magento powers over 250,000 active e-commerce sites worldwide, accounting for approximately 12% of all online stores? This powerful platform is trusted by top brands like Nike, Ford, and Coca-Cola due to its robust features and unparalleled flexibility. Magento needs a 360 degree approach, hence it is not just about the store but also what sort of Magento Extensions for Ecommerce you deploy to your store to increase the Store’s efficiency and performance. According to a report by BuiltWith, Magento is the second most popular e-commerce platform among the top 1 million sites on the internet.
Magento’s open-source nature allows businesses of all sizes to customize their stores extensively, enabling a tailored shopping experience that stands out in the competitive online marketplace. In 2023 alone, e-commerce sales are projected to exceed $6 trillion globally, making it an opportune time to leverage Magento’s capabilities to capture your share of this booming market.
With such alarming statistics, you wouldn’t want to lag behind. We aim to solve all your Magento related problems, Here is a step by step guide on how to create a Magento Store.
Step 1: Setting the Foundation
Choosing Your Hosting Environment
Before diving into the installation and configuration of Magento, selecting the right hosting environment is crucial. A reliable hosting provider ensures your online store runs smoothly, loads quickly, and remains secure. Here are a few key factors to consider when choosing a hosting environment for your Magento store:
- Performance and Speed: Opt for a hosting provider that offers SSD storage, a content delivery network (CDN), and robust server resources to ensure fast page load times and a seamless user experience.
- Scalability: As your business grows, your hosting needs will evolve. Choose a provider that offers scalable solutions, allowing you to upgrade resources as needed without significant downtime or technical issues.
- Security: Magento stores and your Magento Extensions Store handle sensitive customer data, including payment information. Ensure your hosting provider offers strong security measures, such as SSL certificates, firewalls, and regular security updates.
- Support: Look for a hosting provider with excellent customer support, available 24/7, to assist you with any technical challenges that may arise. Some companies offer Magento Extensions from Ecommerce that you can choose to integrate with your store to increase its performance and efficiency.
Step 2: Installing Magento
Downloading and Setting Up Magento
With your hosting environment ready, it's time to install Magento. Follow these steps to get started:
- Download Magento: Visit the official Magento website and download the latest version of Magento Open Source.
- Upload Magento Files: Use an FTP client to upload the Magento files to your web server's root directory.
- Create a Database: Log in to your hosting control panel (such as cPanel) and create a new MySQL database. Make a note of the database name, username, and password.
- Run the Installation Wizard: Navigate to your domain in a web browser to start the Magento installation wizard. Follow the on-screen instructions to complete the installation, entering your database details when prompted.
Step 3: Configuring Your Store
Setting Up the Basics
Once Magento is installed, it's time to configure your store settings to match your business needs. Here are some essential configurations to get started:
- General Settings: Navigate to the Admin Panel and go to Stores > Configuration. Set your store's name, address, and contact information.
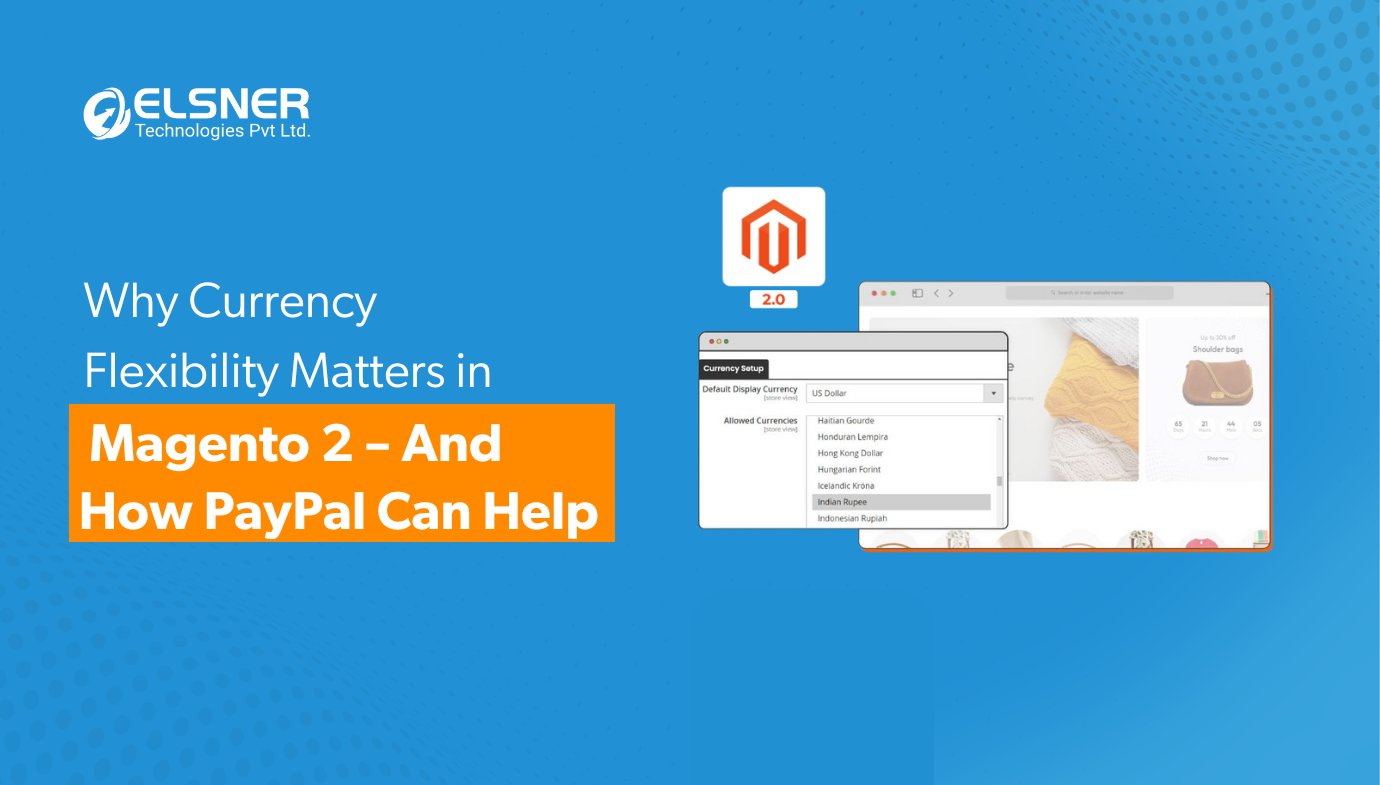
- Currency Settings: Set your default currency, allowed currencies, and currency symbols under Stores > Configuration > General > Currency Setup.
- Language Settings: If you plan to serve international customers, configure your store's language settings under Stores > Configuration > General > Locale Options.
- Tax Settings: Set up your tax rules and rates under Stores > Tax Rules and Stores > Tax Zones and Rates to ensure accurate tax calculations for your products.
Step 4: Designing Your Store
Choosing and Customizing a Theme
The design of your online store plays a crucial role in attracting and retaining customers. Magento offers a variety of themes that you can customize to reflect your brand's identity:
- Choose a Theme: Browse the Magento Marketplace or other theme providers to find a theme that suits your business.
- Install the Theme: Upload the theme files to your Magento directory and activate the theme through the Admin Panel under Content > Design > Configuration.
- Customize the Theme: Use Magento's Page Builder and customization options to adjust the layout, colors, fonts, and other design elements to match your brand.
Step 5: Adding Products
Creating Product Listings
Now that your store is configured and designed, it's time to add your products:
- Navigate to Products: Go to Catalog > Products in the Admin Panel.
- Add a New Product: Click on "Add Product" and fill in the necessary details, including product name, SKU, price, and description.
- Upload Images: Add high-quality images to showcase your products effectively.
- Set Inventory Levels: Configure stock levels and availability to manage your inventory accurately.
- Categorize Products: Assign products to relevant categories to help customers easily find what they're looking for.
Step 6: Configuring Payment and Shipping
Setting Up Payment Methods
A seamless checkout process is critical for converting visitors into customers. Configure your payment methods to ensure a smooth transaction experience:
- Navigate to Payment Methods: Go to Stores > Configuration > Sales > Payment Methods.
- Choose Payment Gateways: Select and configure the payment gateways you wish to offer, such as PayPal, Stripe, or credit card processors.
- Test Payment Methods: Conduct test transactions to ensure the payment methods work correctly and provide a smooth checkout experience.
Configuring Shipping Options
Set up shipping methods to provide your customers with various delivery options:
- Navigate to Shipping Settings: Go to Stores > Configuration > Sales > Shipping Methods.
- Select Shipping Methods: Choose and configure shipping methods such as flat rate, free shipping, and carrier-specific options like UPS, FedEx, or USPS.
- Set Shipping Rates: Define shipping rates based on weight, destination, or order value to offer competitive shipping options.
Step 7: Launching Your Store
Final Preparations and Go-Live Checklist
Before launching your Magento store, perform the following checks to ensure everything is set up correctly:
- Test Your Store: Conduct thorough testing of your website, including browsing, adding products to the cart, and completing checkout.
- Optimize for SEO: Configure SEO settings under Stores > Configuration > General > Web to improve your store's visibility in search engine results.
- Enable SSL: Ensure your store uses HTTPS to protect customer data and improve trust.
- Backup Your Store: Create a backup of your Magento store to safeguard against data loss.
Wrapping Up
Creating a Magento store might seem like a daunting task, but with this step-by-step guide, you can confidently navigate the process and build a successful online business. By using Magento's powerful features, and Magento 2 Extensions and customizing your store to meet your unique needs, you'll be well on your way to capturing a share of the booming e-commerce market.

